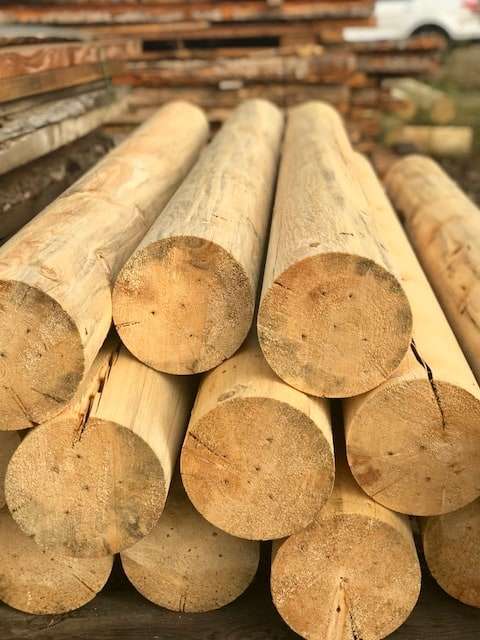
At Wasatch Timber Products, we have custom, milled logs – 2″-20″ diameter and 8′-32′ long!
The log milling process involves several steps that transform a log into lumber or other wood products. These steps vary depending on the size, quality, and purpose of the log, as well as the type of wood and the desired end-product. Here are the typical steps in the log milling process:
1. Tree Felling: The first step is to cut down the tree and trim off the branches. This requires a chainsaw or a specialized machine, and is usually done by experienced loggers.
2. Log Transport: The next step is to transport the logs from the forest to the sawmill. This can be done using trucks, railroads, or waterways, depending on the location and accessibility of the forest.
3. Log Sorting: Once the logs arrive at the sawmill, they are sorted according to size, species, and quality. The best logs are usually reserved for high-end products such as furniture or flooring, while the lower quality logs are used for framing or other structural applications.
4. Debarking: Before the logs can be milled, they must be cleared of bark and outer layers of wood. This can be done either mechanically or manually, and helps to prevent contamination and damage to the blades.
5. Sawing: The logs are then sawed into planks or boards using a variety of sawing methods. The most common sawing techniques are “plain sawing” (cutting parallel to the tree’s growth rings) and “quarter-sawing” (cutting perpendicular to the growth rings). Other techniques include “rift-sawing” (cutting at a 30-degree angle), “live sawing” (cutting the entire log in a single pass), and “resawing” (cutting thicker planks into thinner pieces).
6. Drying: Once the planks are sawed, they are usually dried in a kiln or in the open air. This helps to reduce moisture content and stabilize the wood, preventing warping or cracking. Drying times vary depending on the species and thickness of the wood.
7. Planing: After the wood is dried, it can be planed to smooth out the surface and create a uniform thickness. This is also known as “surfacing” or “dressing.”
8. Finishing: Finally, the wood can be finished with stains, paints, or varnishes to enhance its aesthetic appeal and protect it from wear and tear. This step is optional, and depends on the desired end-product.